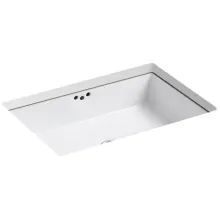
My husband has been moved into the home office addition that I shared was finished a few weeks ago – check out this post if you want to see more of the exterior. Today, I am sharing details about the finishes we selected and some additional options that you may be interested in if you are updating an office, bedroom, or bathroom. It has been a labor of love, and while I am glad he is enjoying the space, I am really going to miss the creative process.
The picture below is the entry to the addition. We really worked hard to make the addition as seamless as possible and lucked out that the window on the other side of the fireplace balances this doorway very nicely. BTW, here is my final plant stand that I blogged about HERE and if you do not have one of these, you need to get one! I really love seeing the green in my home and watching the plants change from week to week.
Apologies in advance as this is going to be a long one so feel free to skim and click the links if you are interested in any of the decor.
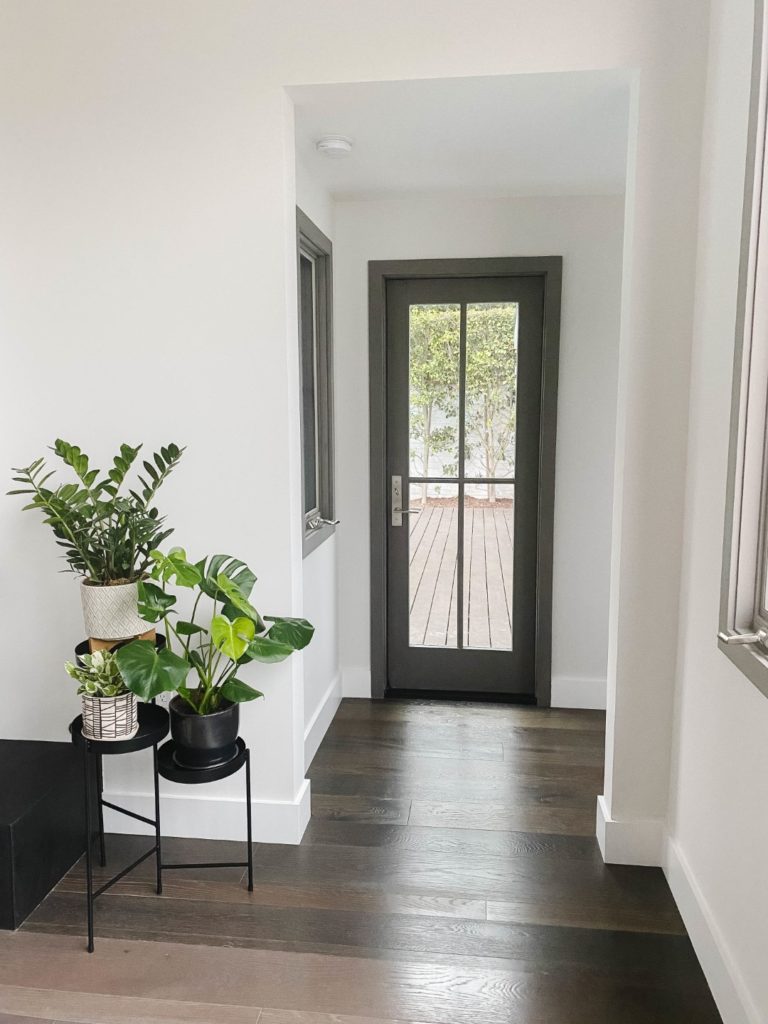
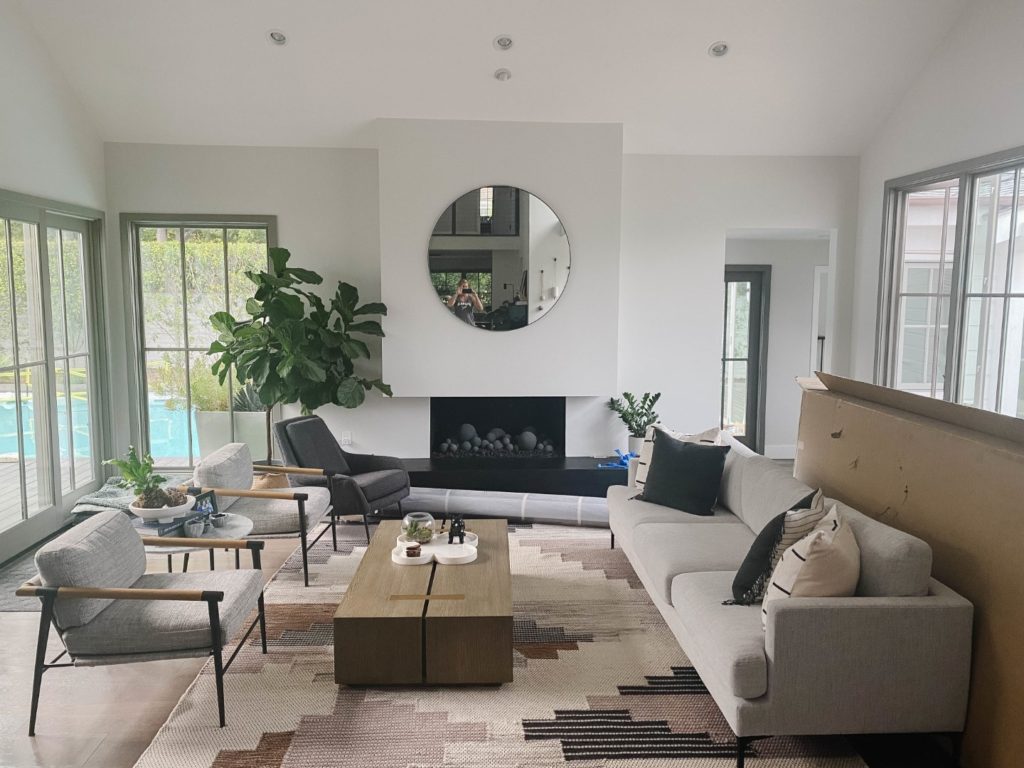
After – see doorway on far right.
Before – no doorway on the right side.
Of all the materials, the flooring proved to be the most challenging in more ways than one. After going to over 15 flooring samples provided by our contractor, none of which were close, I took the bull by the horns and visited a local flooring store. WOW – luckily I had a sample of the flooring that we were trying to match with me which made things much easier. I borrowed 5 samples and one ended up being a direct match for the color – it just did not come in the varying widths but hey, you cannot have everything all the time.
We went with a product from Oregon Lumber (which seemed fitting as we are recent Pacific NW transplants) in White Oak Midnight finish. The transition from the old to the new took place at the door threshold above – seamless right?1?!? There is more variance in the original floor leading up to the room because of fading from the sunlight.
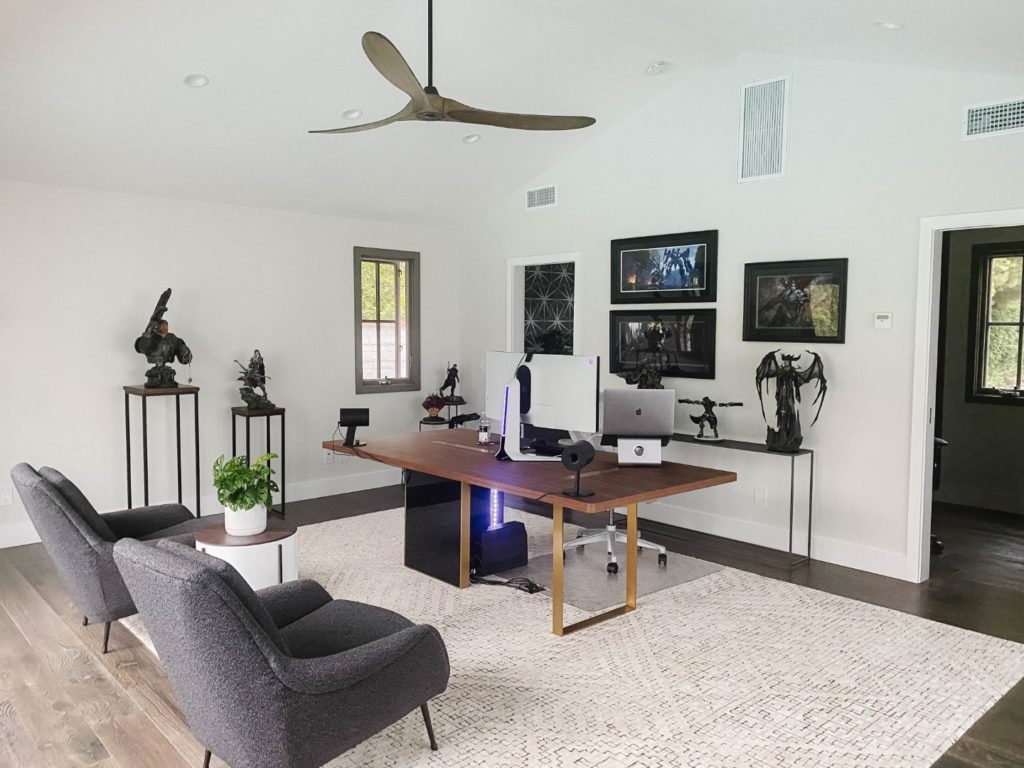
The picture above is the view looking into the office from the doorway that you get to after zig zigging through the small hallway above. My husband was technically the client for the office, and I was surprised by how many strong opinions he had about the decor, particularly the desk. He has been using 2 desks side by side with about an 8 ft span so this desk was a downgrade a bit in size but not by much. In addition to the size, he had strong feelings about no drawers which limit the 30″ clearance space for legroom.
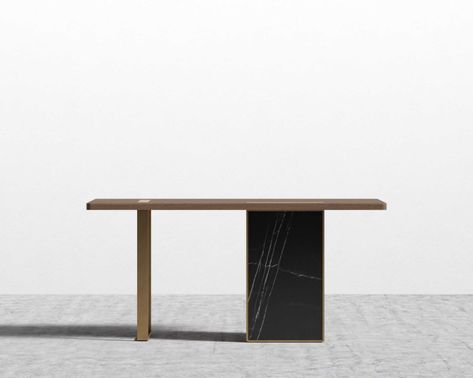
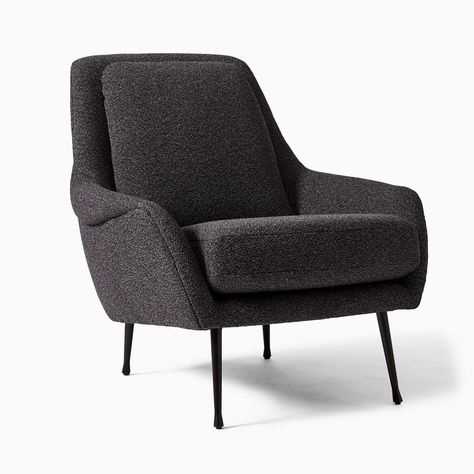
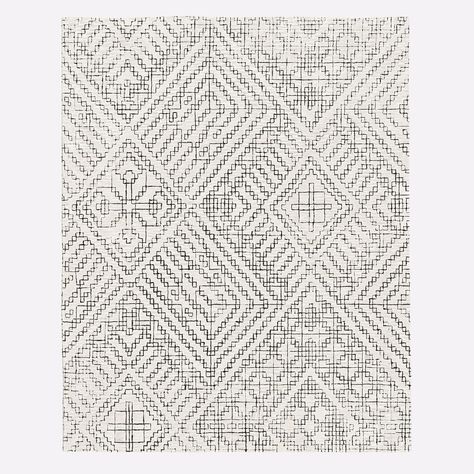
Here are the links to the desk, chair, rug, and ceiling fan. Yes, we went with the same ceiling fan that we put in the bedrooms (but upside to the 70″ size) – sometimes practical wins over pretty. I do not think I have ever sat in more comfortable chairs which is pretty ironic since they will get little use in the office. We enjoyed them in various parts of the house while we were waiting for the office build to finish. This room is nearly 20’x20′ and the rug is 10’x14′ which is the largest I have ever purchased for myself – cannot tell you how many times I measured to check because no way did I want to have to return that monster.
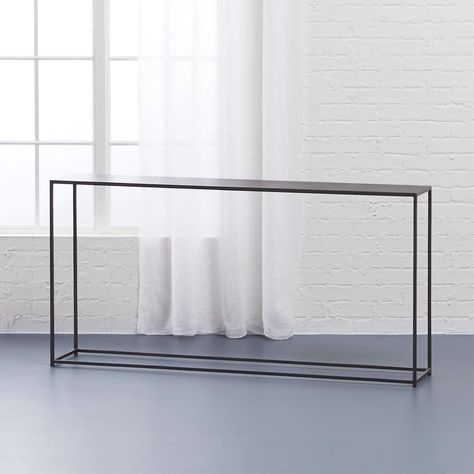
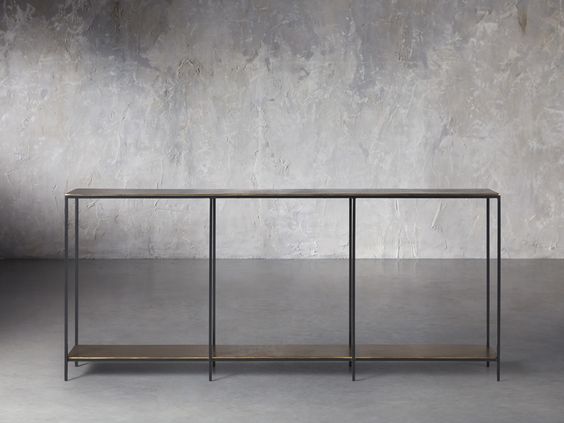
The console table below the gaming artwork is from CB2 and is priced right for a narrow console that fits well behind a desk or a soft with not much clearance. We are going to be moving this one to the living room becuse Mike needs a larger, but very similar one, from Arhaus linked below that will hold more statues. Sadly it is on backorder and not as budget friendly.
Below is the view looking out from the desk…not too bad except work. We also used a few plant stands to hold my husbands gaming statues so something to consider if you have pieces you want to display.
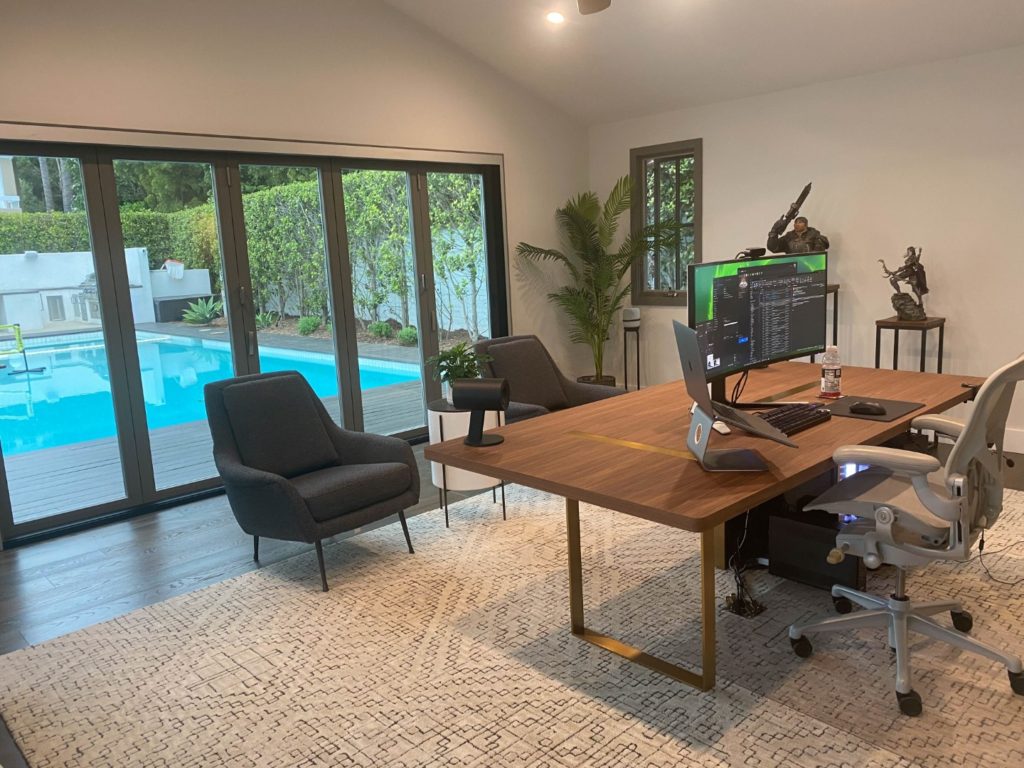
If you want to check out links below for some leather chairs and lighting. Thought I had done a lounge chair and large desk post but looks like those will be coming soon.
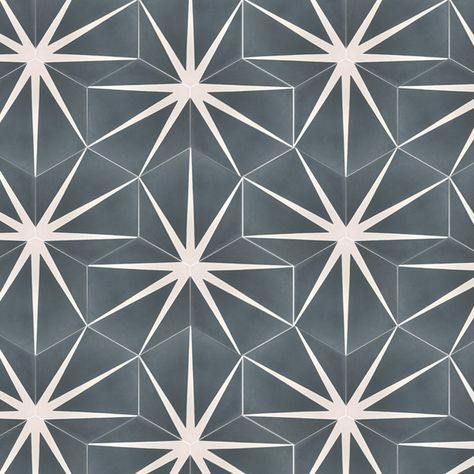
Here is the attached bathroom – the cement tile is a showstopper. So much so that our plumber bought our significant overage for his personal bathroom. I was going to use it outside on the underside of the bar but my husband was not 100% convinced. This is the second primary bathroom that I have designed with both using cement tiles. You can check out my other bathroom remodel and some other cement tiles that we considered for this remodel HERE. We tiled the entire back wall of the bathroom so that when you are standing at the mirrors you see the pattern reflected.
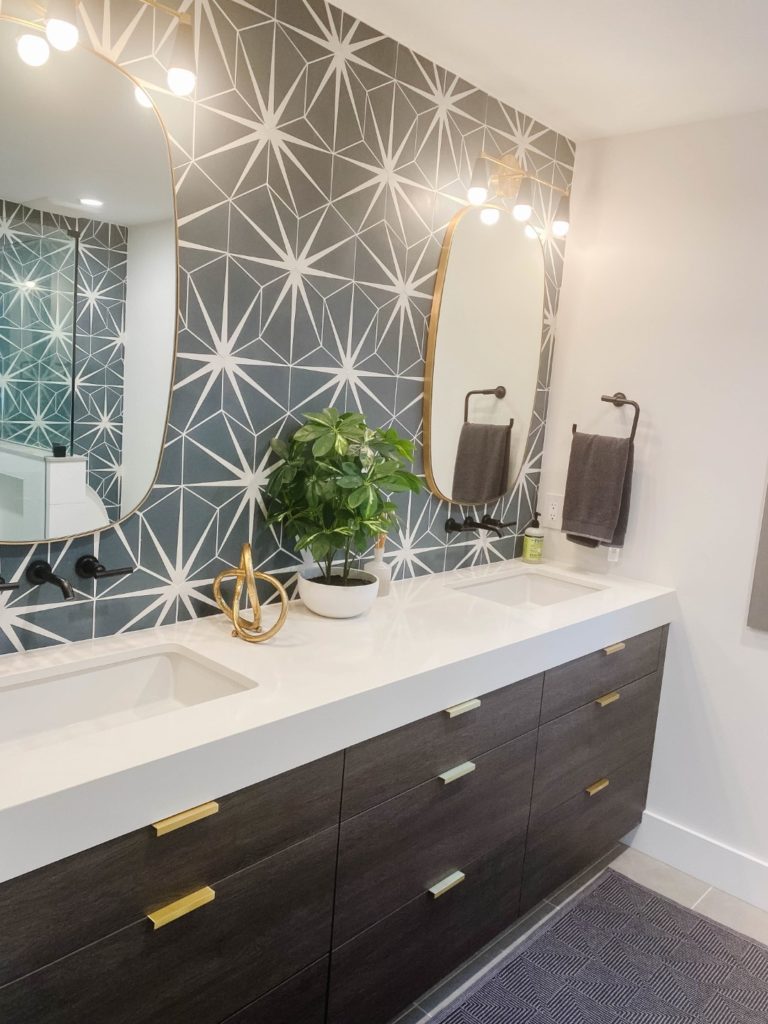
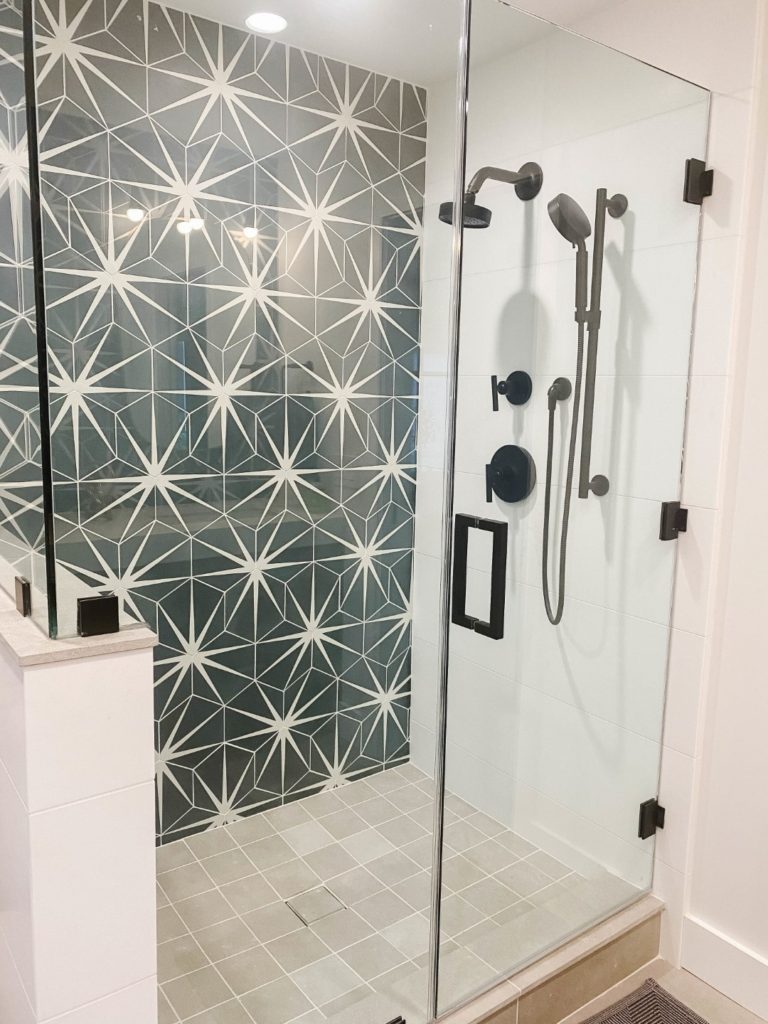
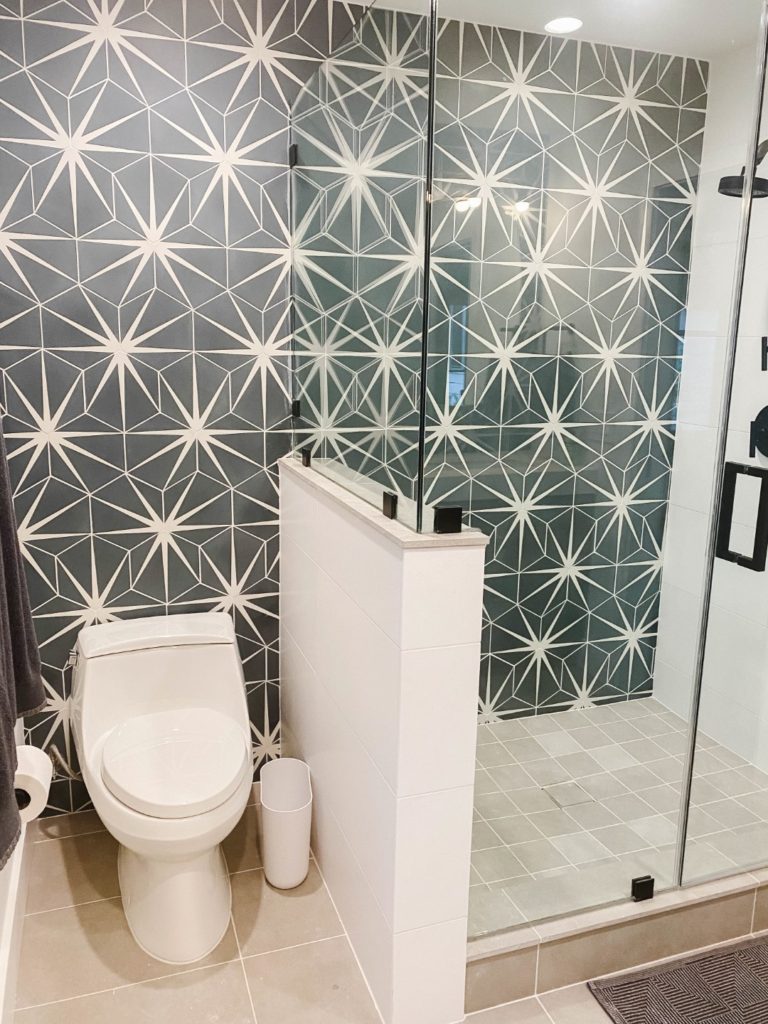
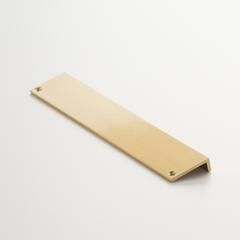
Here are some links to the other items that we used. We have the Kohler fixtures in the rest of the house and love them but went with matte black here rather than brushed chrome. We also The flooring is limestone tile with 4×4″ cuts of the same material in the slower pan to create a seamless look. We did steer away from the curbless shower and linear drain that we added to our Redmond house – although they are beautiful, they are gross to clean and have a tendency to fail flooding the room and we already survived one flood too many in this space.
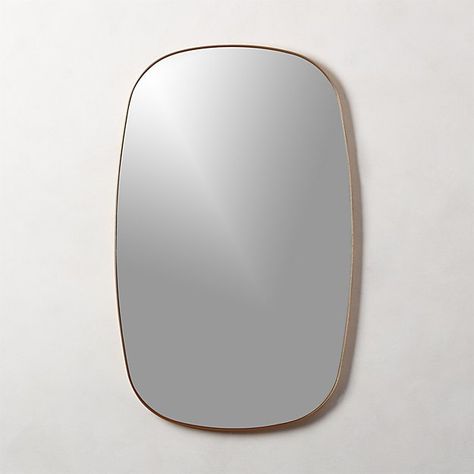
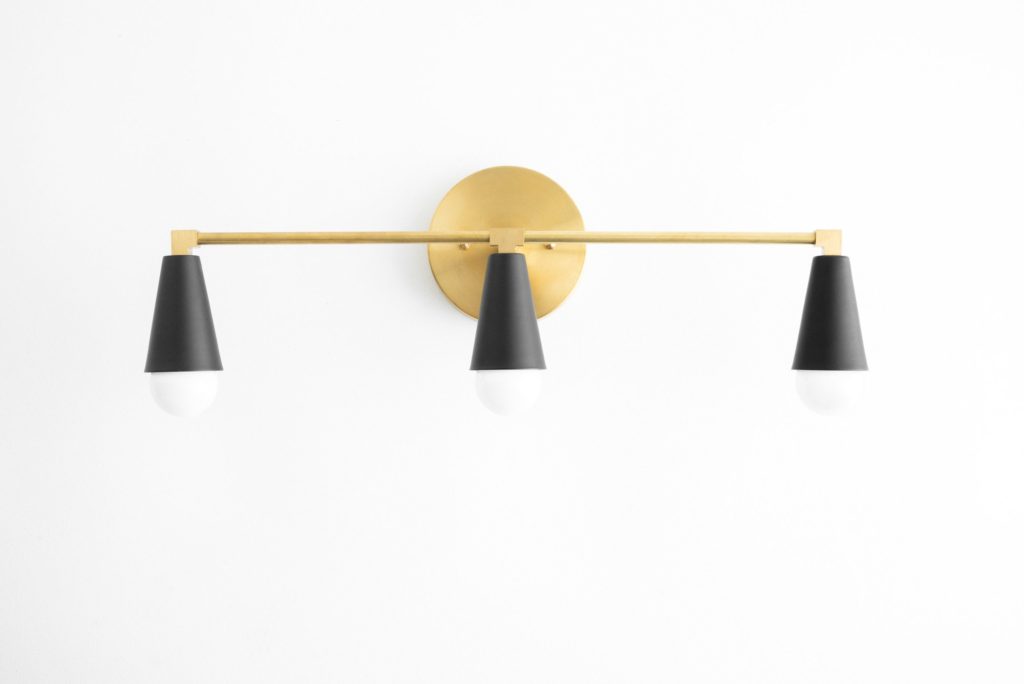
The cabintry is custom and was built to match with the same materials in the rest of our house. Similarly the quartz is called Cascade White and it is the same as what we have throughout the house. The vanity lighting is from a small company called Peared Creations that I found on Etsy and you should check them out if you are looking for some fun modern fixtures. We also have 4 can lights for overhead light so there is plenty of light in the room plus one window that helps as well. I really like how the mixed metal finish pulls together the other fixtures.
Hope I have the opportunity to design some more ground up builds in the future. While the process can be challenging, it is fun to have a finished space which is exactly what you want. Hope you have enjoyed the journey and found some inspiration for your space!

